Kids First Saturdays: Solar Powered Photography Ii
The following instructions will help you improve the composition of your silhouette photography during our in-gallery Kids First programming on Saturday, August 15th 2020.
Registration for Kids First programming can be done by emailing s.bernard@thepolygon.ca. Our new Covid-19 plan ensures a safe experience for all.
INSPIRATION
The exhibition Chester Fields 2020: Global Warning will help us look at how young artists visualize the forces of nature and the forces that threaten it. By creating dynamic images using natural materials and the man-made objects that pollute our environment, photographers of today invite the viewing public to embrace the idea of profound change for a better future.
Julia Keil, Synthetic

Nutchanat Thanamtieng, Last Chance
For anyone visiting the gallery from August 7th to the 23rd, download and print this ‘Seek and Find’ document before your visit, to help you look closer at the photographs in the exhibition. Or, use your personal device to look at it as you go through the exhibit with your family.
STEP 1: GATHER MATERIALS
- Solar Powered Photography Kit (Easier alternative: coloured construction paper)
- Running tap water or a container of water at least 8 x 13 cm in size, and a few centimetres deep
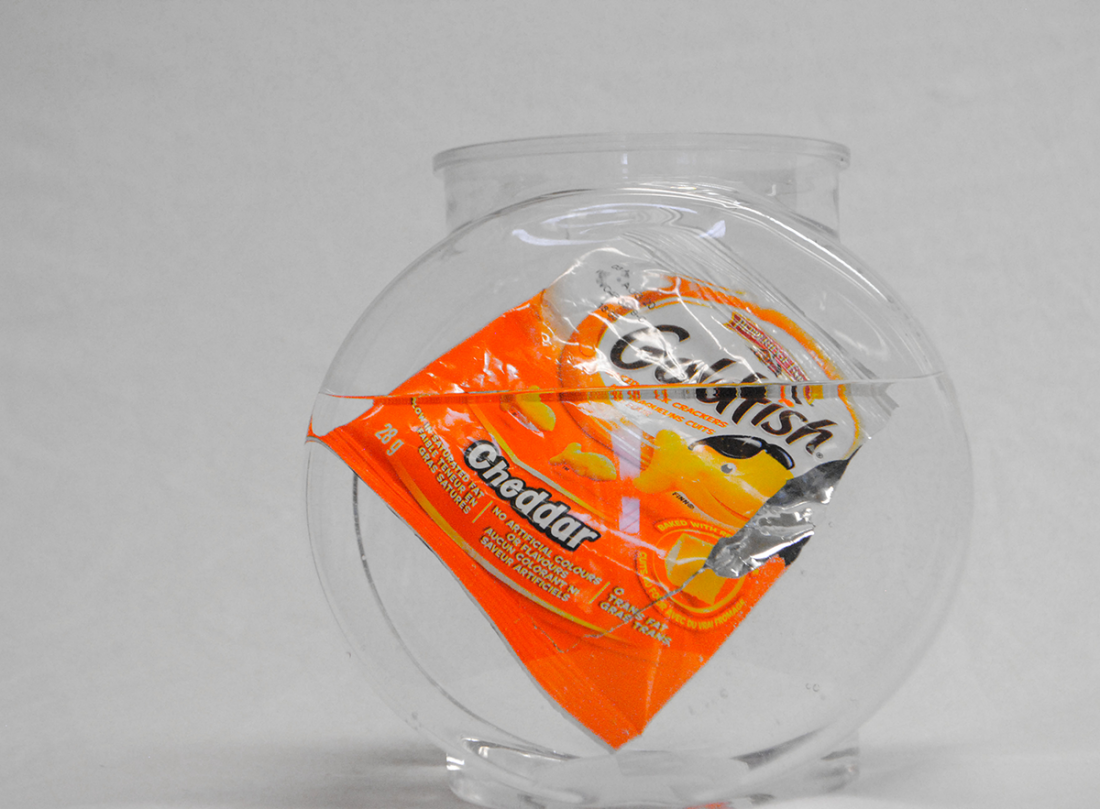
- Transparent materials like plastic containers, pens, and markers, or even a bottle of hand sanitizer
- Natural materials like branches, leaves, flowers, pinecones, pine needles, sand, wood, shells or moss
- Fun extra: stop watch or clock (to record the time of the exposures)
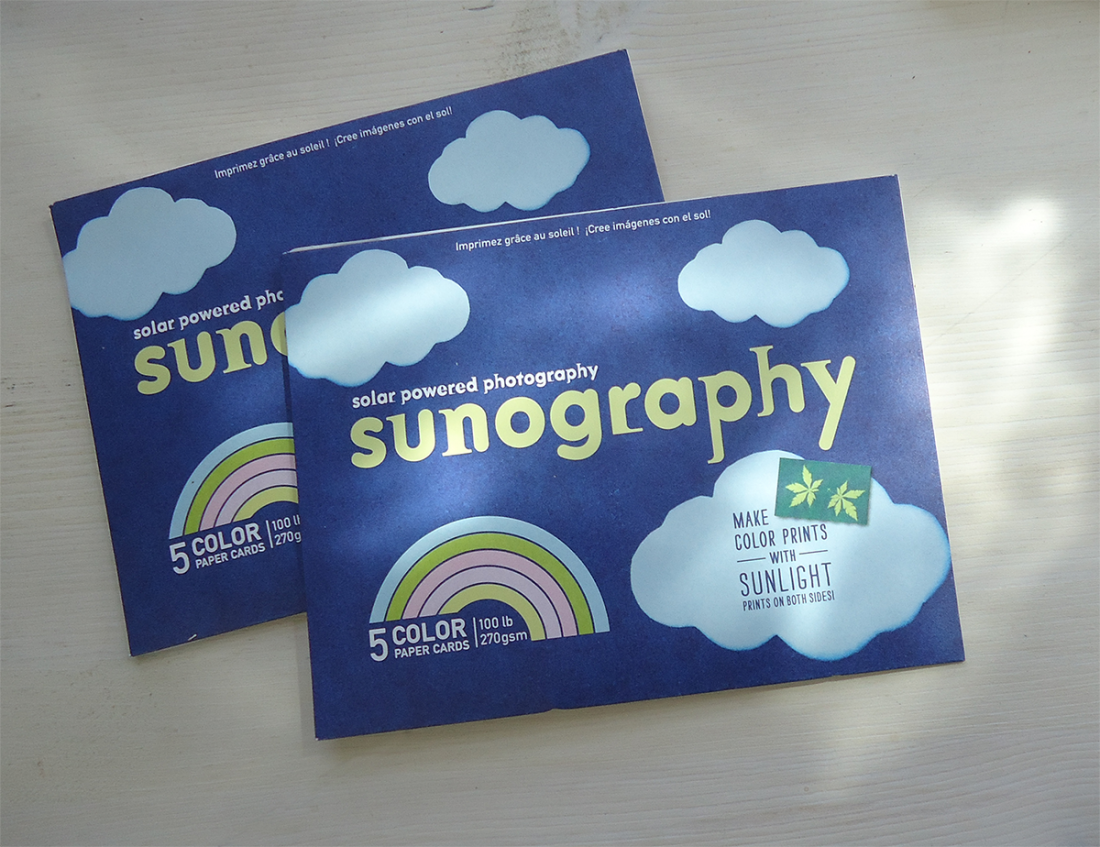
Sunography kits can be purchased in The Polygon Shop. Click on this image for more information.
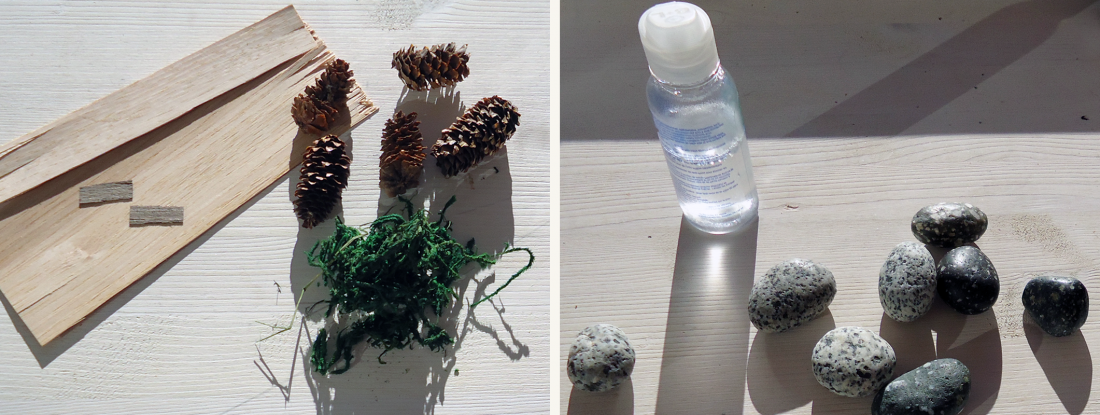
These and other objects can be found in and around your home.

Collect small objects when walking or hiking with your family.
STEP 2: USE EVERYDAY OBJECTS TO MAKE AN IMAGE ON PHOTOSENSITIVE PAPER
Keep the photosensitive paper in the dark (in the plastic envelope it comes in) until you are ready to place your objects on the paper. When you’re ready, take the paper out of the envelope and quickly place it in the sun while placing all the objects on top in the pre-arranged order.
An interesting image can be made by using either of these three composition tricks: (1) Make things look dense and complicated by spreading things all-over. Use several similar objects and fill the entire image with them placed at random distances from each other.
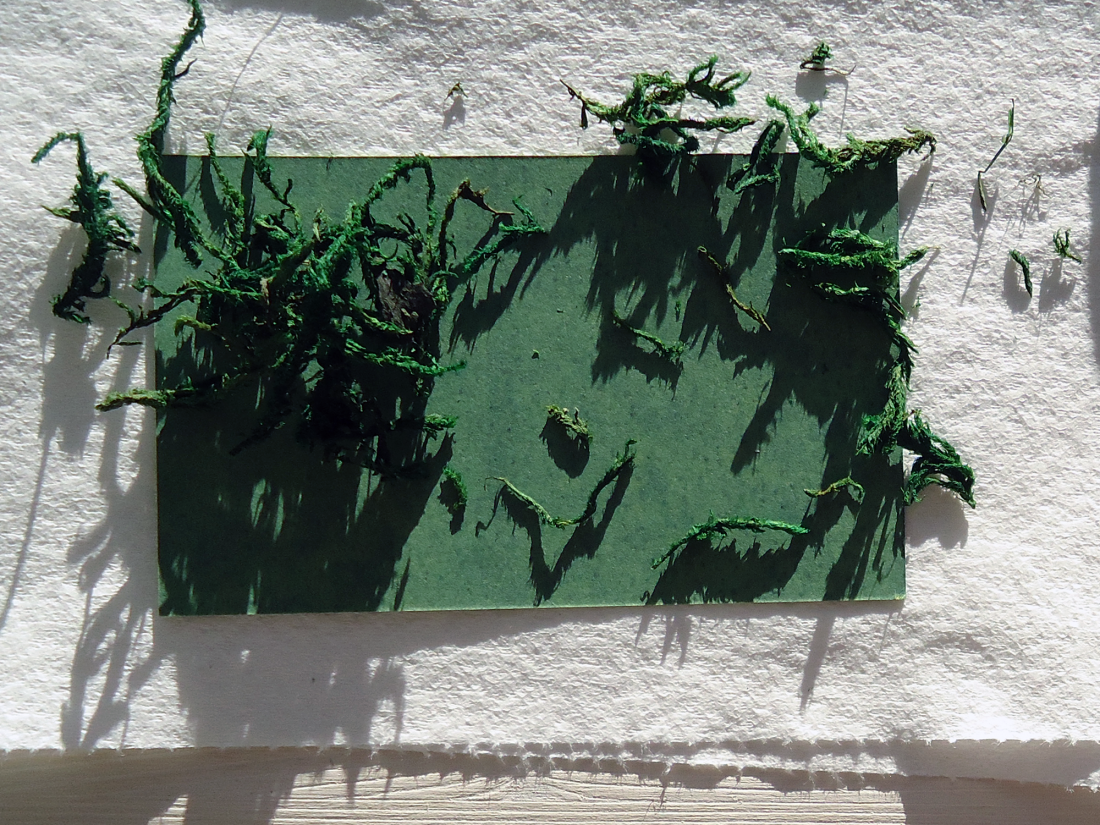
Moss, small leaves or pine needles can all be used to make an ‘all-over’ pattern.
(2) Keep it simple and minimal. Use one object, the most interesting one you can find, to be the main subject of your photograph. Place it in a central position or a bit off to the side.

PRO TIP: Transparent objects will be more difficult to photograph.
(3) Make a landscape: Place different objects on your photographic paper so that they create a picture, where objects become the ‘ground’ or clouds in the ‘sky’.

PRO TIP: Flat objects are better for the ground as they stay close to the paper, transparent or thicker objects are better for the sky as they let the light through.
STEP 3: DEVELOP YOUR IMAGE BY RINSING YOUR PAPER WITH WATER
The amount of time you rinse out your paper will also effect the quality of the image. Make sure to move the paper around in the still water long enough so that the background of the image becomes dark.

Notice how the water gets darker as the chemicals wash out of the paper.
This blue colour is the reason artists call this type of photograph a “cyanotype”, from the greenish-blue hue of the chemicals being used.
STEP 4: FLATTEN OR HANG YOUR PHOTOGRAPH TO DRY FOR BEST RESULTS
Making a flat photograph can be difficult as the photosensitive paper can curl up at the edges. Try hanging, pinning or flattening them between layers of paper towel under a heavy glass sheet or container.

PRO TIP: Soak up most of the water before pinning or flattening, to make sure it takes less time and dries properly.
STEP 5: SHARE YOUR WORK
If you share your work online, be sure to tag @polygongallery as we would love to see the objects you’ve used to make your sun-photographs. Have fun!
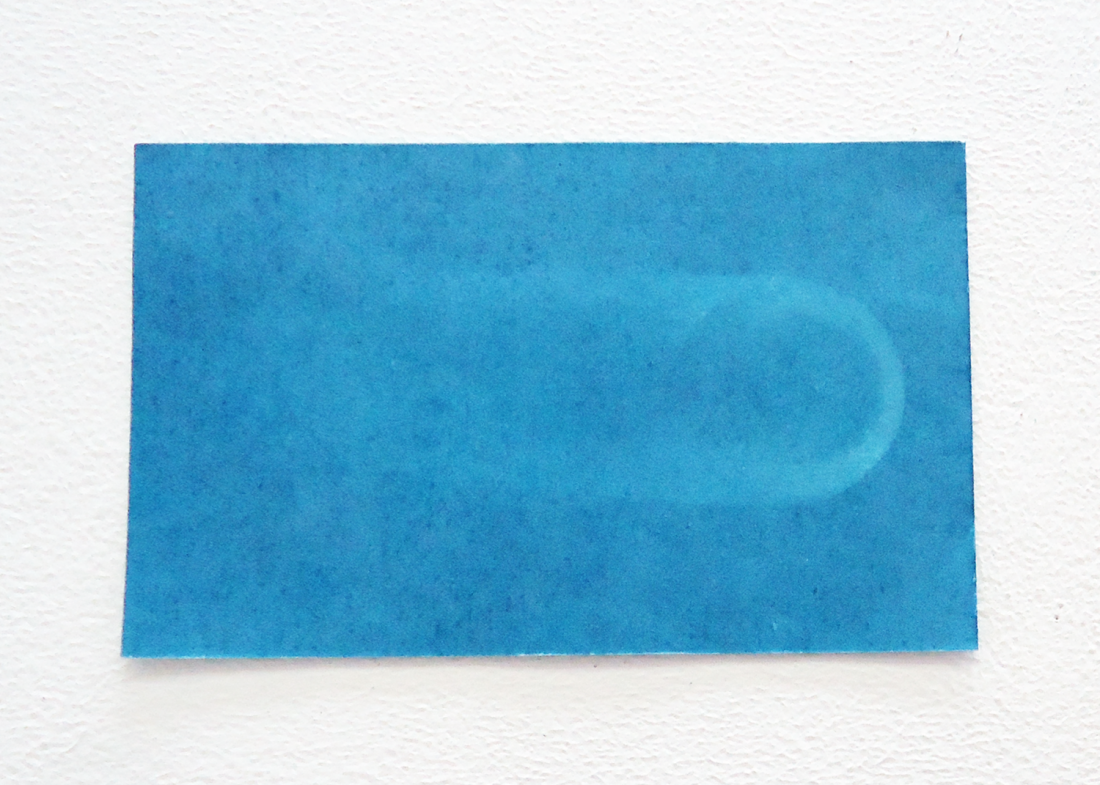
Notice how the hand sanitizer bottle let through too much light. PRO TIP: Transparent objects need less time to be exposed to the sunlight.

Notice the moss is fuzzy in areas. PRO TIP: Very thin objects also require less exposure time.
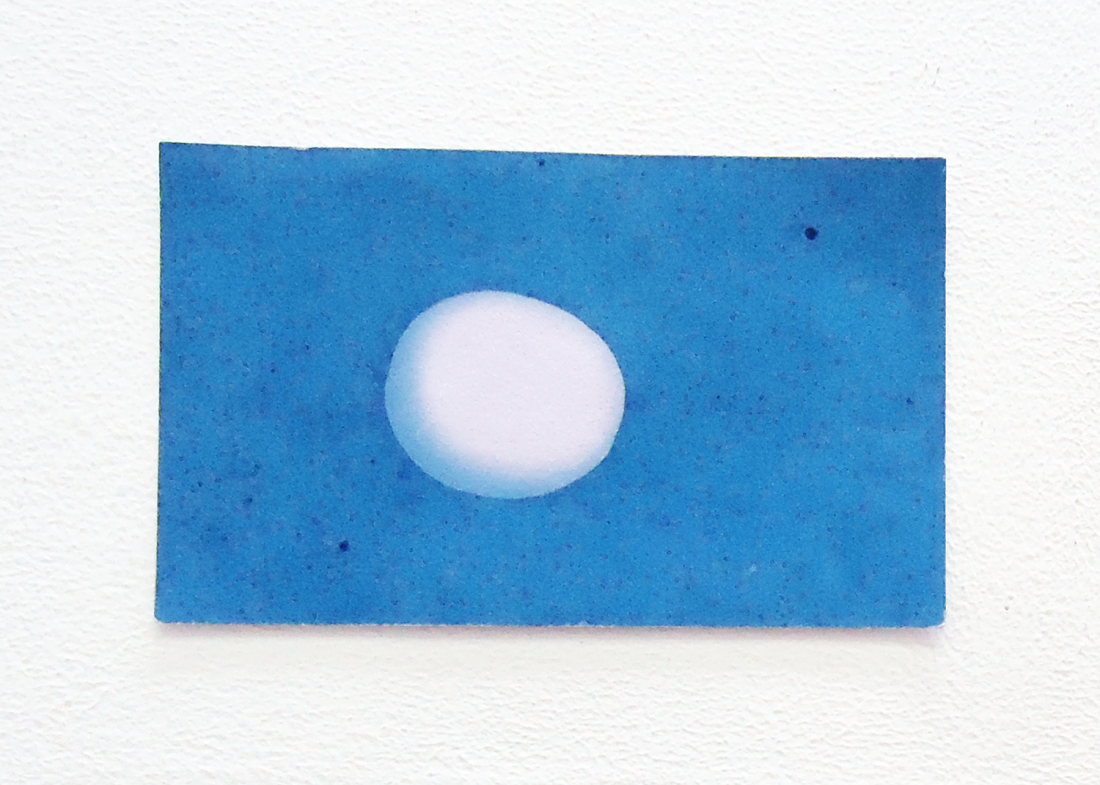
PRO TIP: The image of the stone could be improved by placing the object perfectly in the centre.

Notice how the shadows of the pinecones can create different effects, from tree branches to fluffy clouds.
Join us on Saturday, August 15th, in order to make your own solar powered photograph!