Kids First Saturdays: Solar Powered Photography
Explore object-based photography produced with sunlight during our in-gallery Kids First programming on Saturday, August 15th 2020.
Registration for Kids First programming can be done by emailing s.bernard@thepolygon.ca. Our new Covid-19 plan ensures a safe experience for all.
INSPIRATION
The exhibition Chester Fields 2020: Global Warning will help us talk about how climate change can inspire contemporary art making. Many young photographers are concerned about the far-reaching consequences affecting our Planet Earth. See how they use striking images of simple things like trash or everyday objects to make us think about our effect on the environment.

Leo Wang, 一叶扁舟

Isabella Lawton-Giustra, Modern Factory
For anyone visiting the gallery starting on August 7th, download and print this ‘Seek and Find’ document before your visit, to help you look closer at the photographs in the exhibition. Or, use your personal device to look at it as you go through the exhibit with your family.
STEP 1: GATHER MATERIALS
- Solar Powered Photography Kit (Easier alternative: coloured construction paper)
- Running water tap or a container of water at least 8 x 13 cm in size, and a few centimetres deep
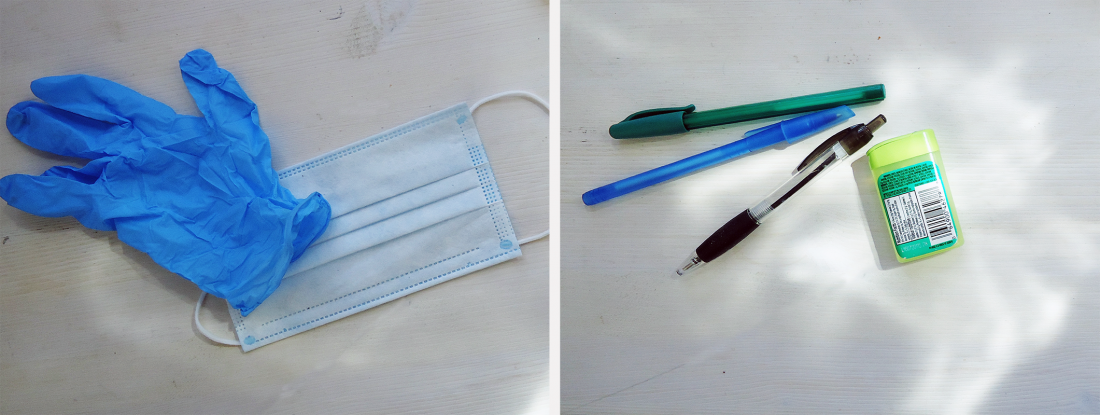
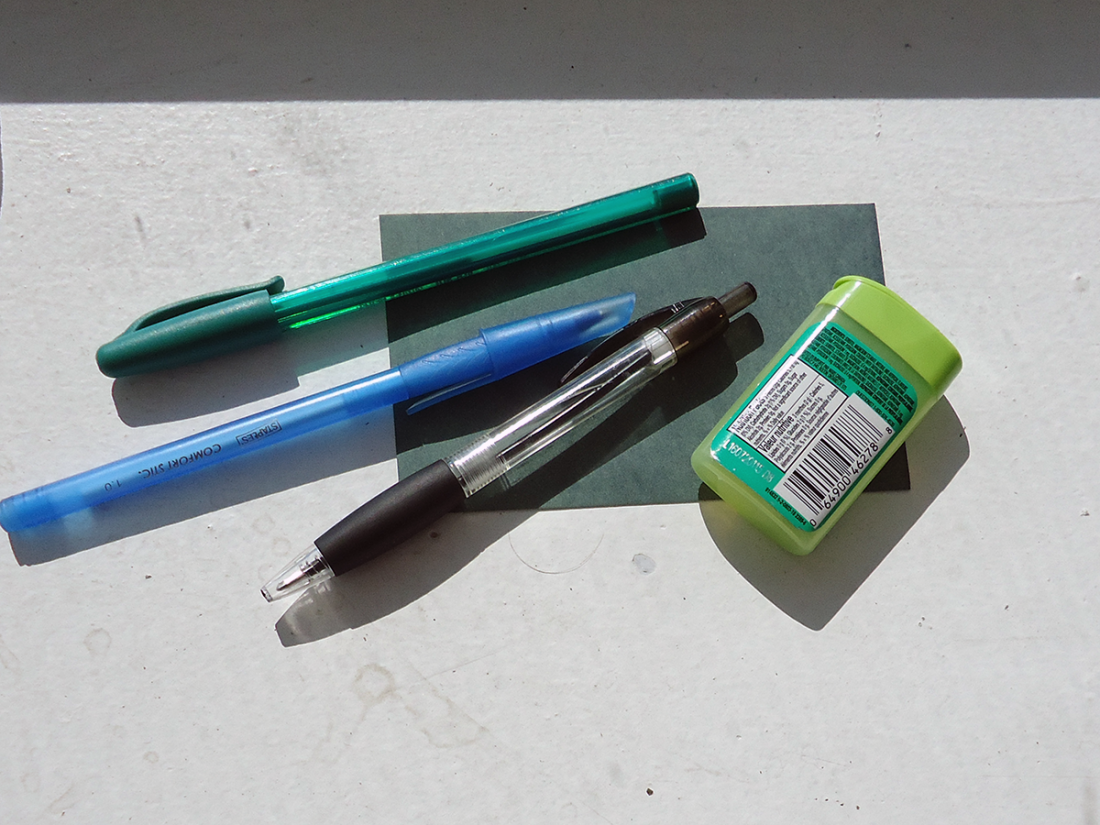
- Transparent materials like plastic containers, pens, and markers. Or even a clean face mask or gloves
- Natural materials like branches, leaves, flowers, or moss
- Fun extra: stop watch or clock (to record the time of the exposures)
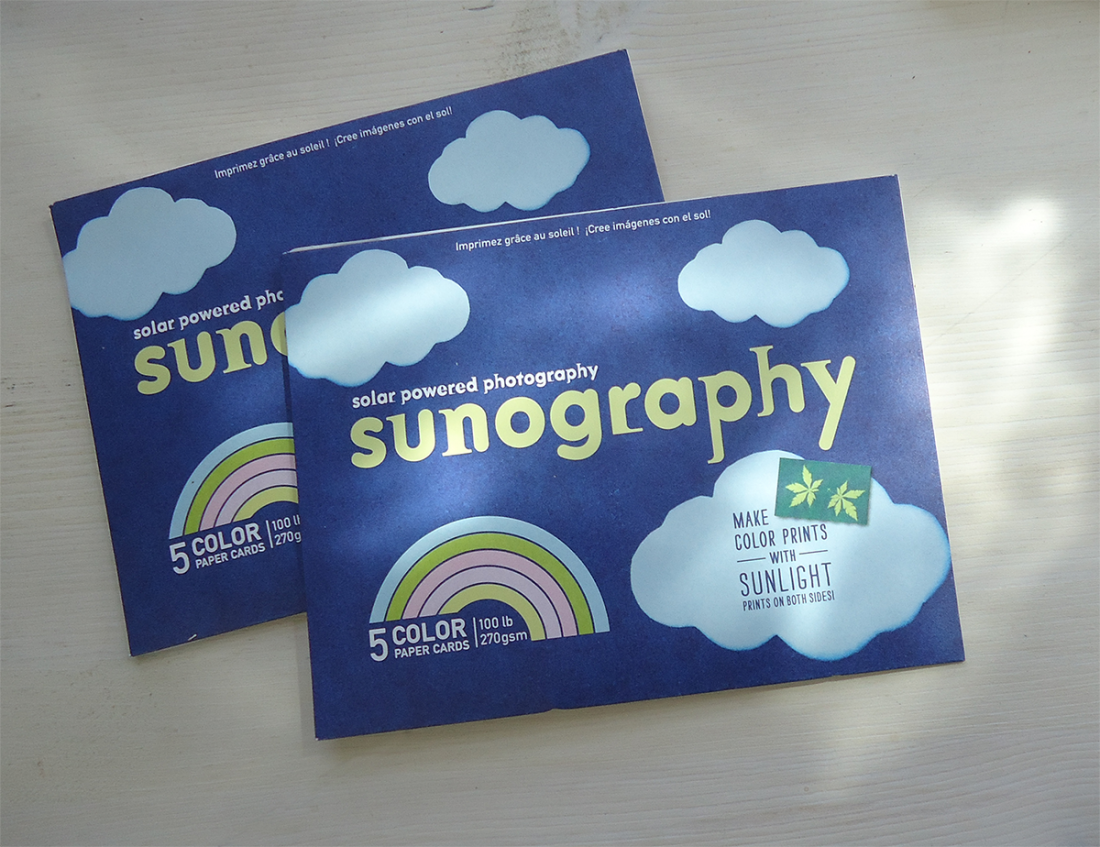
Sunography kits can be purchased in The Polygon Shop. Click on this image for more information
These and other objects can be found in and around your home.
STEP 2: USE EVERYDAY OBJECTS TO MAKE AN IMAGE ON PHOTOSENSITIVE PAPER
Keep the photosensitive paper in the dark (in the plastic envelope it comes in) until you are ready to place your objects on the paper. Spend some time figuring out what the composition of your image will look like, then take the paper out of the envelope and quickly place it in the sun while placing all the objects on top in the pre-arranged order.
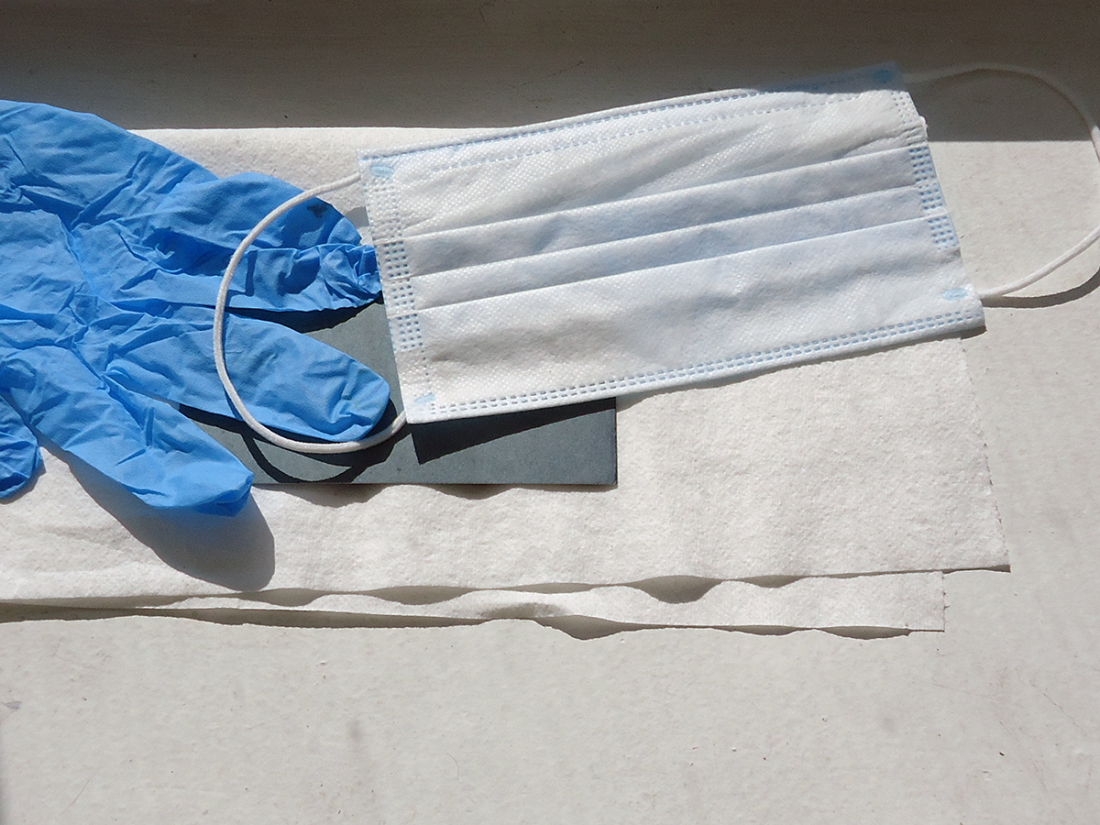
PRO TIP: Lay your photo paper down on a piece of paper towel to avoid picking up dust with your print.
The longer you leave the paper in the sun, the darker the background of your image will become. Use your first two sheets of photo paper to experiment on what is the best time of light exposure. 10-15 minutes should be enough on a very sunny day, though you might need more than 20 minutes if it is cloudy outside.
PRO TIP: Transparent materials will not block out the light completely, creating shadows.
STEP 3: DEVELOP YOUR IMAGE BY RINSING YOUR PAPER WITH WATER
The amount of time you rinse out your paper will also effect the quality of the image. Make sure to leave the paper in the running water long enough so that the background of the image becomes dark.
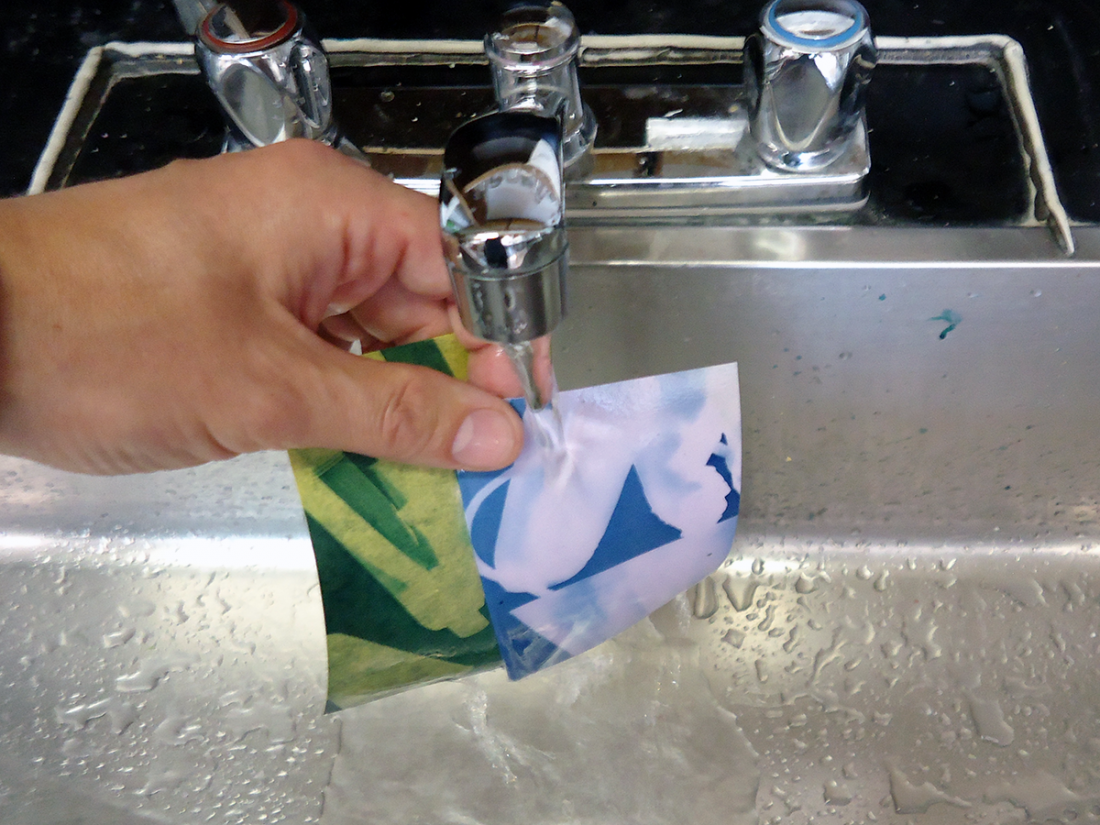
PRO TIP: Use cold running water rather than warm or very hot water
STEP 4: FLATTEN OR HANG YOUR PHOTOGRAPH TO DRY FOR BEST RESULTS
Making a flat photograph can be difficult as the photosensitive paper can curl up at the edges. Try hanging your photographs or flattening them between layers of paper towel wedged in a few heavy books.
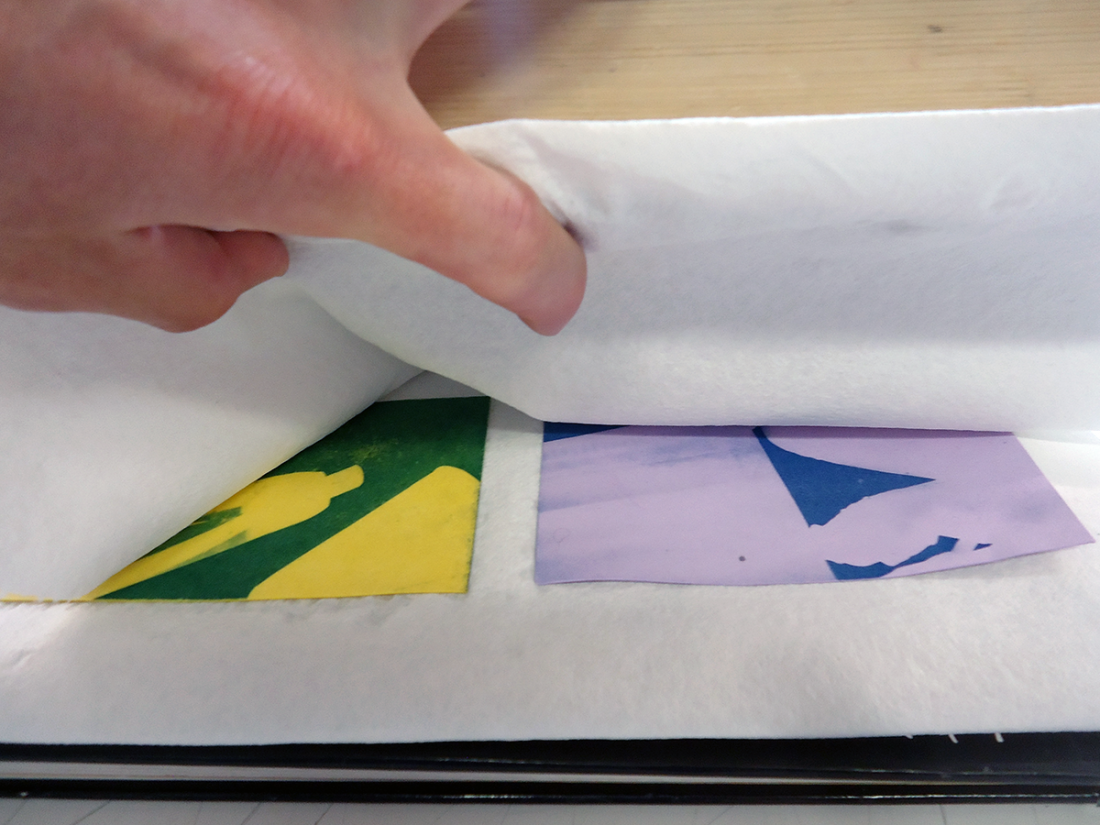
PRO TIP: You can experiment with using corrugated cardboard to dry your photographs if you want to give them a wavy texture.
STEP 5: SHARE YOUR WORK
If you share your work online, be sure to tag @polygongallery as we would love to see the objects you’ve used to make your sun-photographs. Have fun!
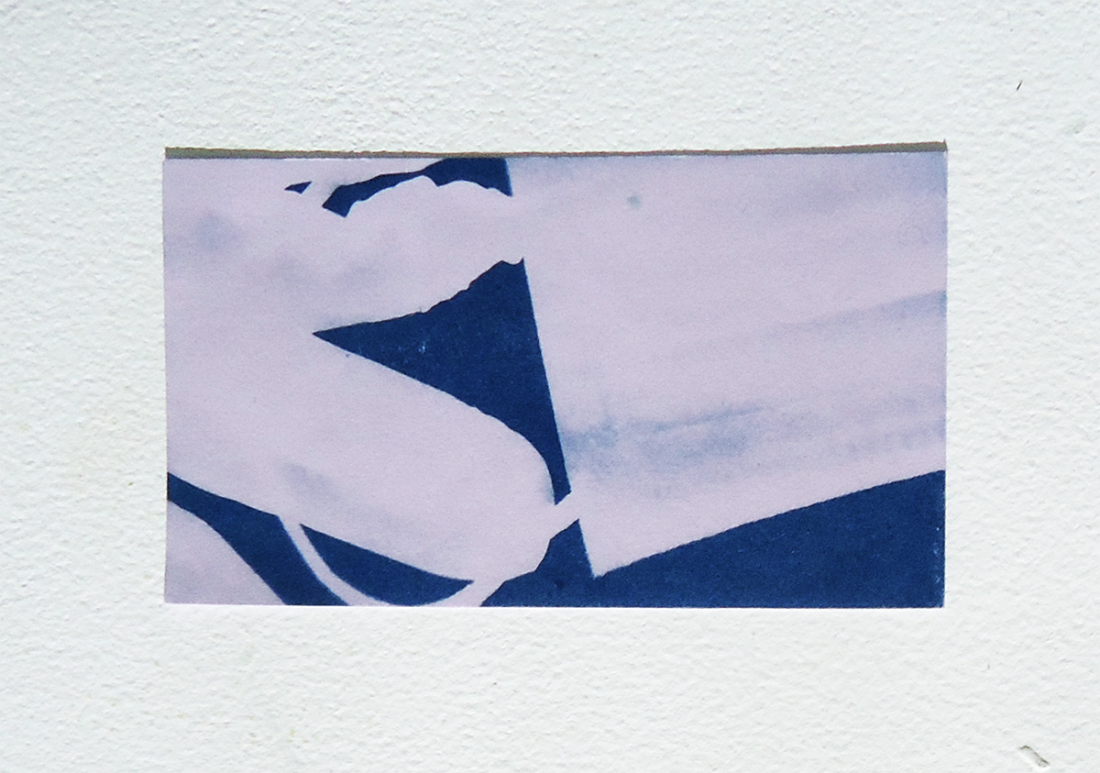
Notice how the mask to the right let the light shine through a bit as the material was very thin.
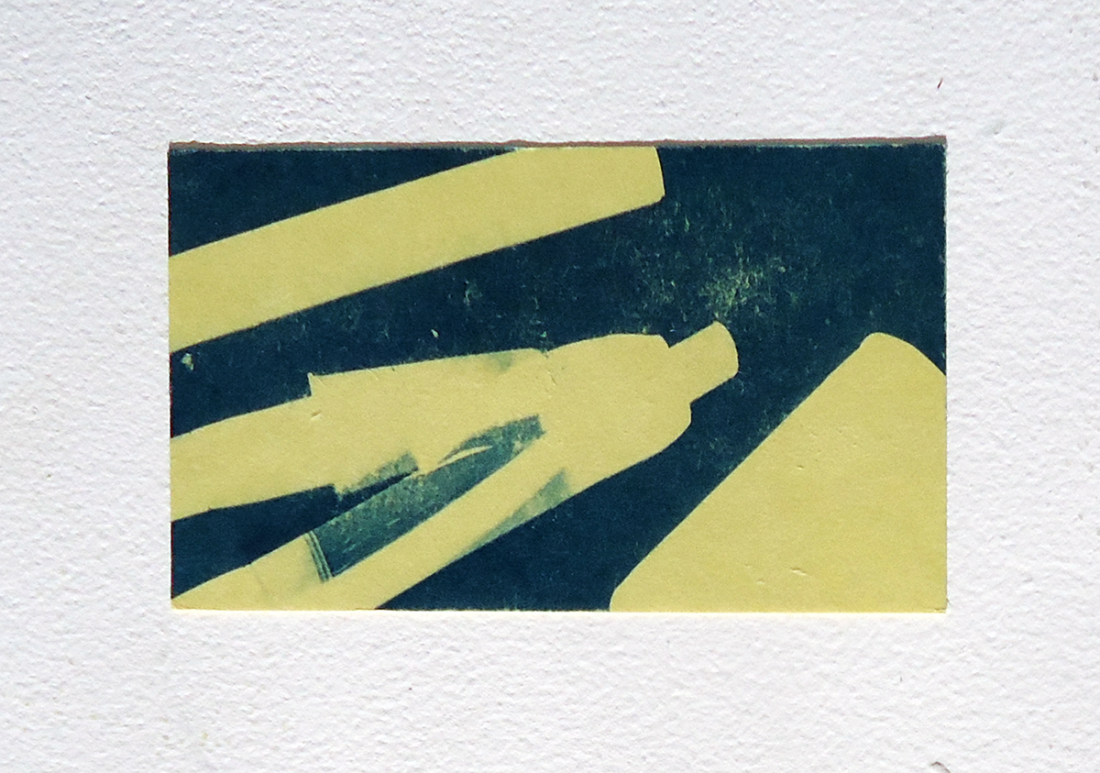
Notice you can see the ink cartridge through the clear pen in the centre
On Saturday, August 8th, we will talk more about how to improve the composition of your solar powered photographs!