Kids First Saturdays Online Activity: Collage Brights
This month, we’ll be sorting through found images to create a colourful collages, inspired by our latest exhibition Steven Shearer.
This activity all about modification, and we encourage you and your children to make it your own! Every kit has a unique mist-mash of colours and images: Through this activity, you will add your own spin.
Essential Materials Supplied In Your Kit:
-3-4 strips of colourful Images (to cut out)
-2-3 abstract Background sheets
-Glue stick
Materials Needed From Your Home:
–Scissors
-(optional) Markers/Crayons colours
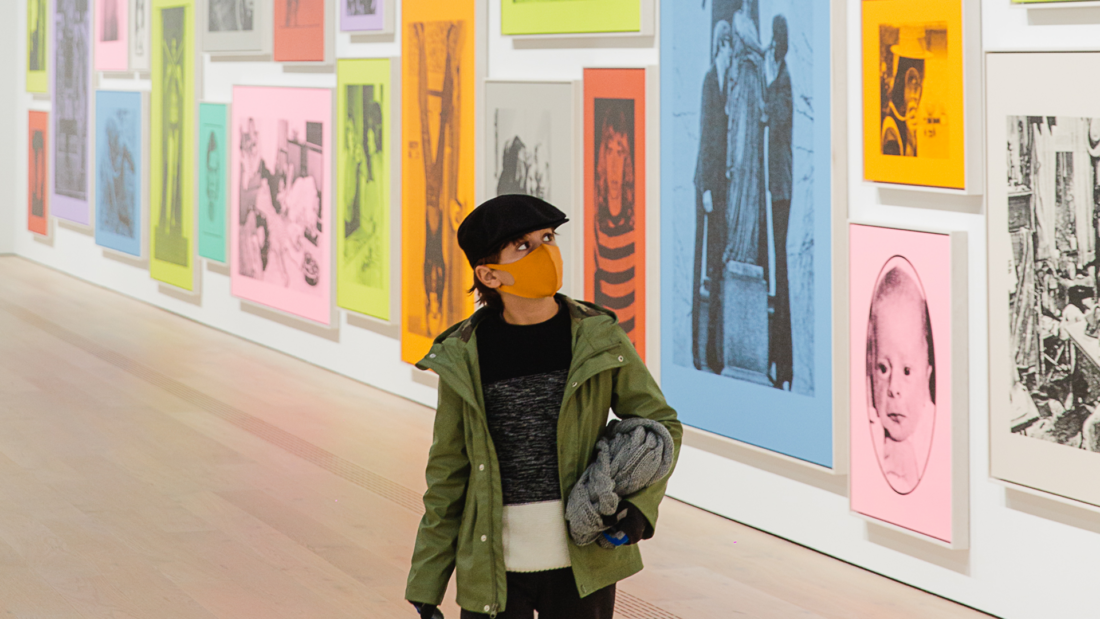 Image credit: Alison Boulier
Some questions to ask before and during your activity:
– How will you decide the shape of your cut outs?
– Why do you like some Images but not others?
– When do you think these Images were made?
– Why do some colours look better together than others?
– Think of about how you want to arrange your Images on the Background sheet: Do you want to plan where all your cut-outs will go? Or will you commit to gluing one Image down and make the others fit around it? Either way, it is like a puzzle! In art, the decisions you make in arranging your images are called a “composition”.
Instructions Overview:
STEP 1. Gather all your materials.
STEP 2. Select which Background sheet you would like to use by flipping over one of the abstract sheets. Plain side up!
STEP 3. Look through your clip art images. Pick your favourites.
STEP 4. Cut the favourites out with scissors. (Tip: You can try circle, square, and organic shapes.)
STEP 5. Before using glue, try placing your cut-out Images on your abstract Background paper. If you like the way it looks, you can cut out a border around these images. Make sure there is enough space! It should look like a hamburger on a bun.
STEP 6. When you are ready, carefully glue them together.
STEP 7. Glue all your cut-outs onto your page.
STEP 8 (OPTIONAL). Use a marker to add drawings or draw attention to some Images.
For your convenience, read aloud the steps (repeated) alongside the instructional pictures below…
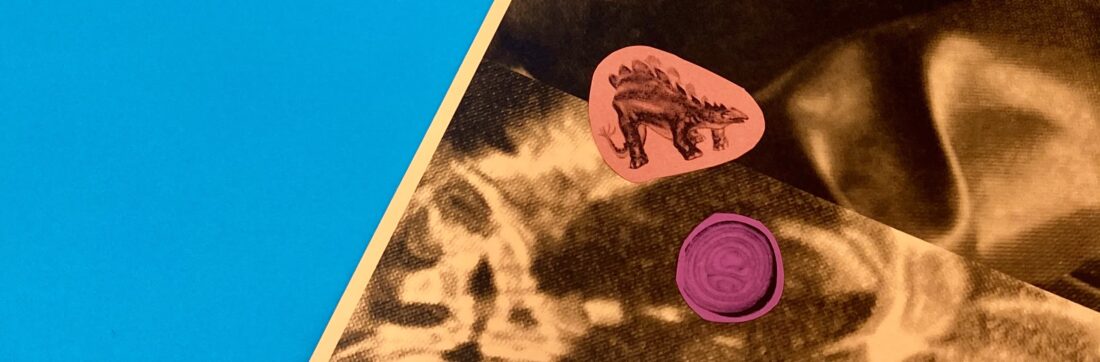
Gather all your materials. Select the Background sheet you would like to use (blue for me!)

Find your favourite images. You can circle them if you’re unsure, or cut if you are confident.
(Adult supervision of scissor use is recommended, but cutting out these small shapes helps to develop children’s fine motor skills.)
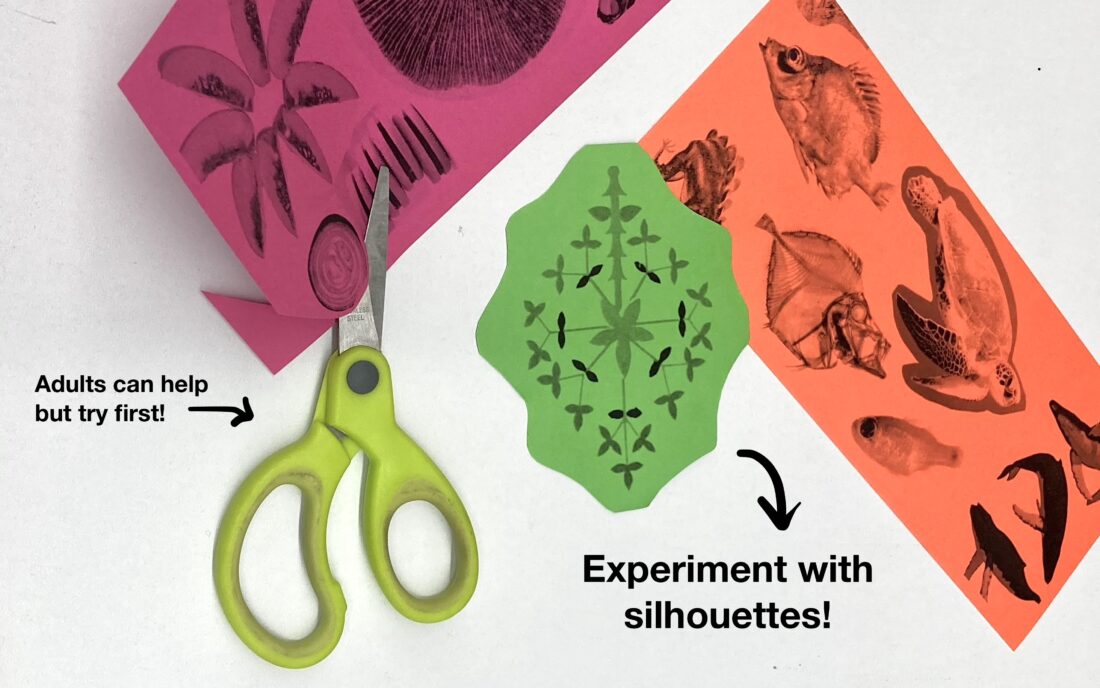
Before using glue, if you want… You can also make your shapes stand out by giving them a border.
Here’s how to do it: Place one of your smaller cut-outs on the abstract, big textures provided. In this example, there is one orange sheet leftover. (Just make sure not to accidentally cut or glue your Background paper!)