Kids First Saturdays: Collagraphs
Collagraphy is a simple, fun printmaking method where you assemble textured materials onto a rigid surface, glue them in place to create a design, and then transfer that design onto onto paper with paint or ink.
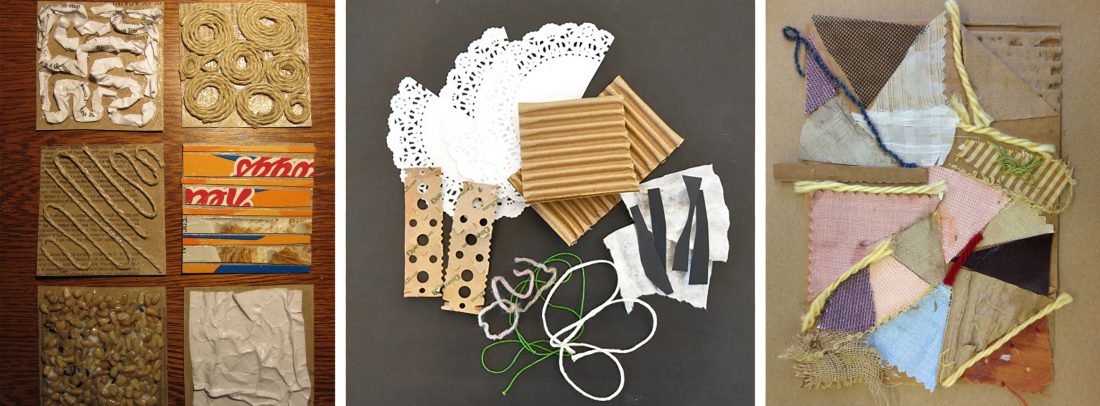
Step 1: Gather Materials
- Textured items (i.e. felt, yarn, macaroni, popsicle sticks, plants… use your imagination!)
- Rigid surface for your printing plate, such as cardboard or chipboard
- Spray bottle filled with water
- Paint brush or sponge
- Printing paper
- Glue stick
- Paint or ink
- Brayer, a roller used to spread ink (optional)
- Baren or a wooden spoon (optional)
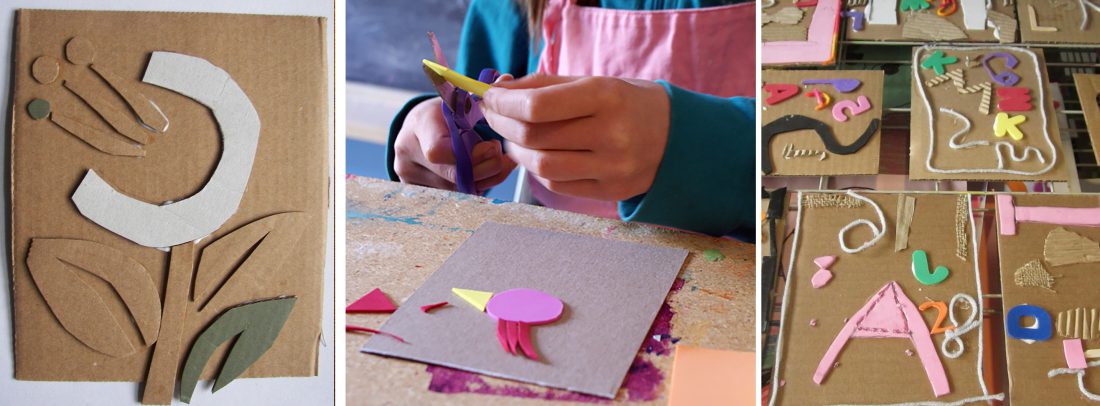
Step 2: Design your printing plate
Sometimes it’s helpful to sketch out a plan on your printing plate before applying any materials. Think about what kind of image you want to create. Are you playing with abstraction or depicting a scene?
Step 3: Apply your materials
Glue your textured materials onto the printing plate surface. Try to keep the surface area as even as possible. If one section is thicker than another, the image may not transfer evenly.
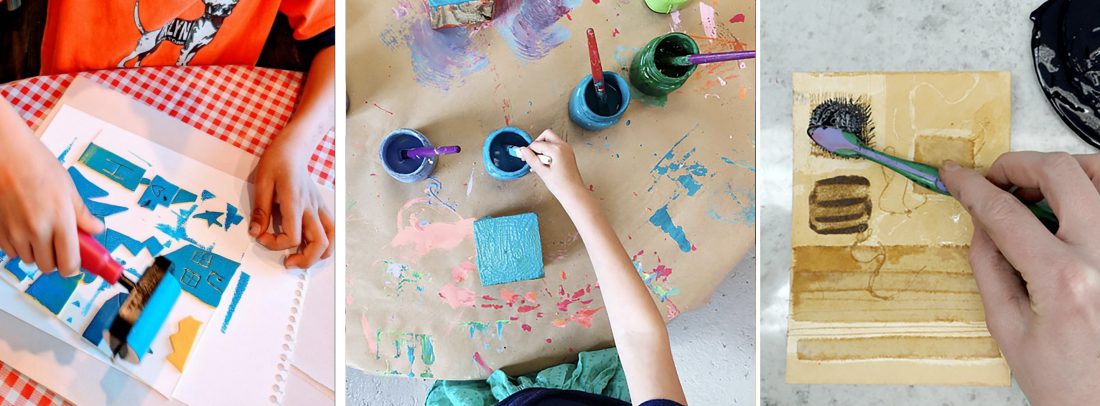
Step 4: Apply your medium
You can use paint, ink, charcoal, or any medium that transfers easily onto paper. Tempera paint is good starting point since it’s affordable, common, and available in a variety of colours. Apply your medium onto the printing plate with a paintbrush, sponge, or brayer. If you want to try an embossment (imprint) without any ink, skip this step.
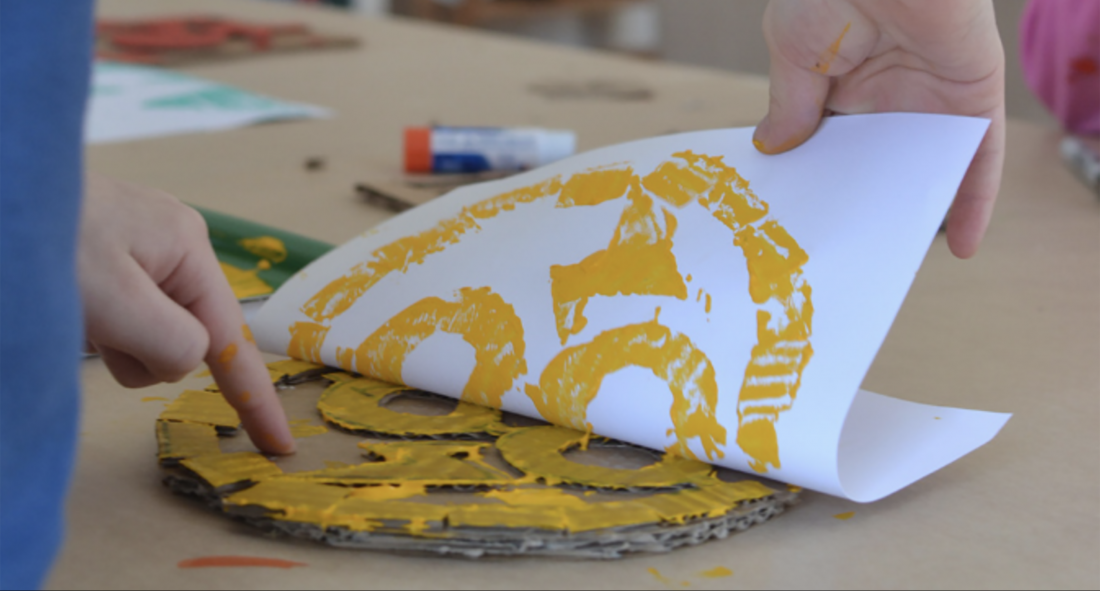
Step 5: Print
Place your sheet of paper on top of the printing plate and press onto it with either a baren, a wooden spoon, or your hands. Be sure to apply pressure to the entire plate so that you don’t get an incomplete print. Gently peel off the paper, and ta-da, your first collagraph print!
Step 5: Share your work
If you share your work online, be sure to tag @polygongallery as we would love to see your creations. Have fun!