Kids First Saturdays: Camera Obscura
Photography was developed by scientists and inventors in the 1830s who explored ways of fixing images to different materials. The principles of pinhole photography, however, have been observed for millennia. This week, we will be exploring the most basic of these optical principles by transforming an entire room into a camera obscura!
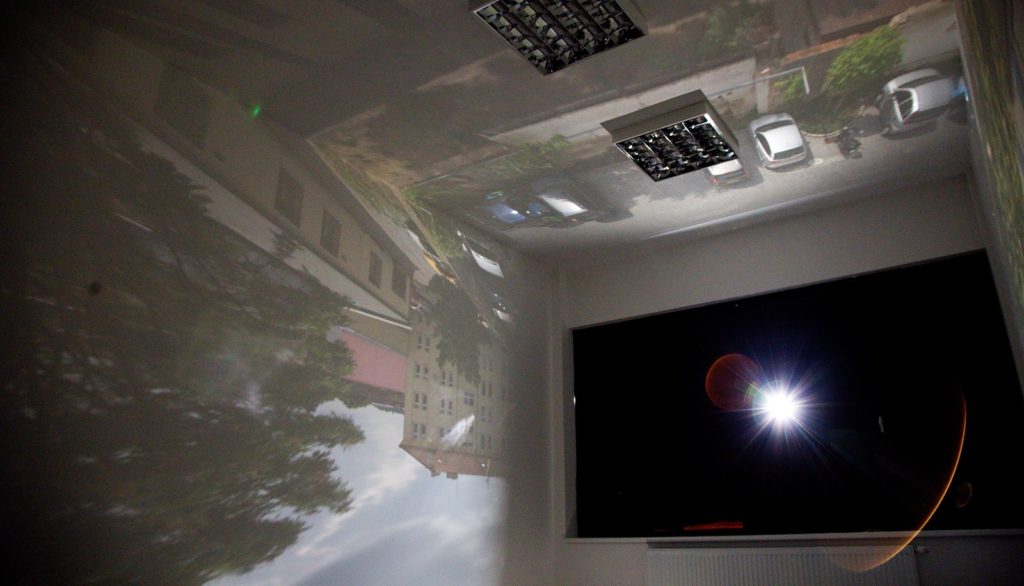
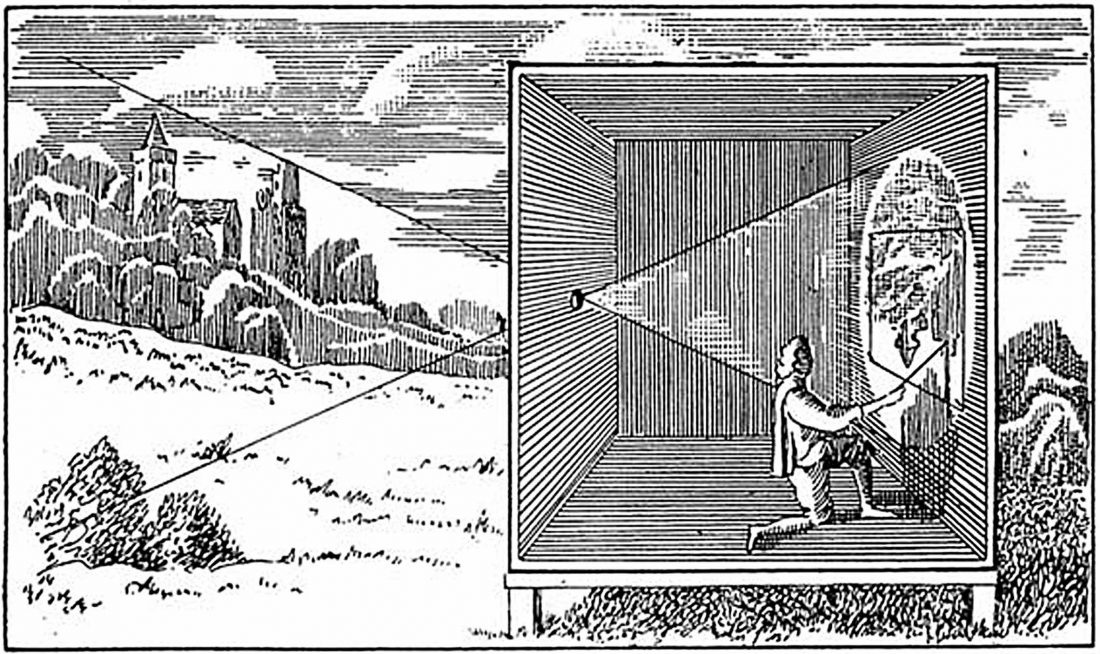
But what is a camera obscura, you ask? The term is Latin for dark room and is basically just that with a small hole (or aperture) on one side. This optical device projects an inverted image of what’s in front of the aperture onto the wall behind it. Camera obscuras have been used as far back as the Renaissance to help painters create incredibly detailed representations of the world around them.
Step 1: Gather Materials
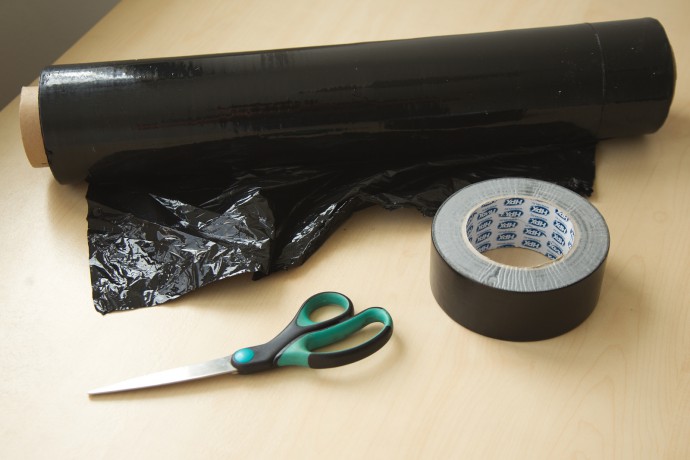
This project is quick, simple and affordable. All you need is:
- Cardboard, garbage bags or black foil (must be opaque and have enough to cover an entire window.)
- Construction paper
- A room with a view
- A sunny day
- Scissors
- Tape
Step 1: Block out light
Cover the window with your material. Try to block out as much light as possible. Avoid duct, flex, scotch, and packing tapes, as they will likely damage your wall paint. Naturally, painter’s tape is the best choice. If enough light is spilling into the room from the doorway, go ahead and cover that as well.
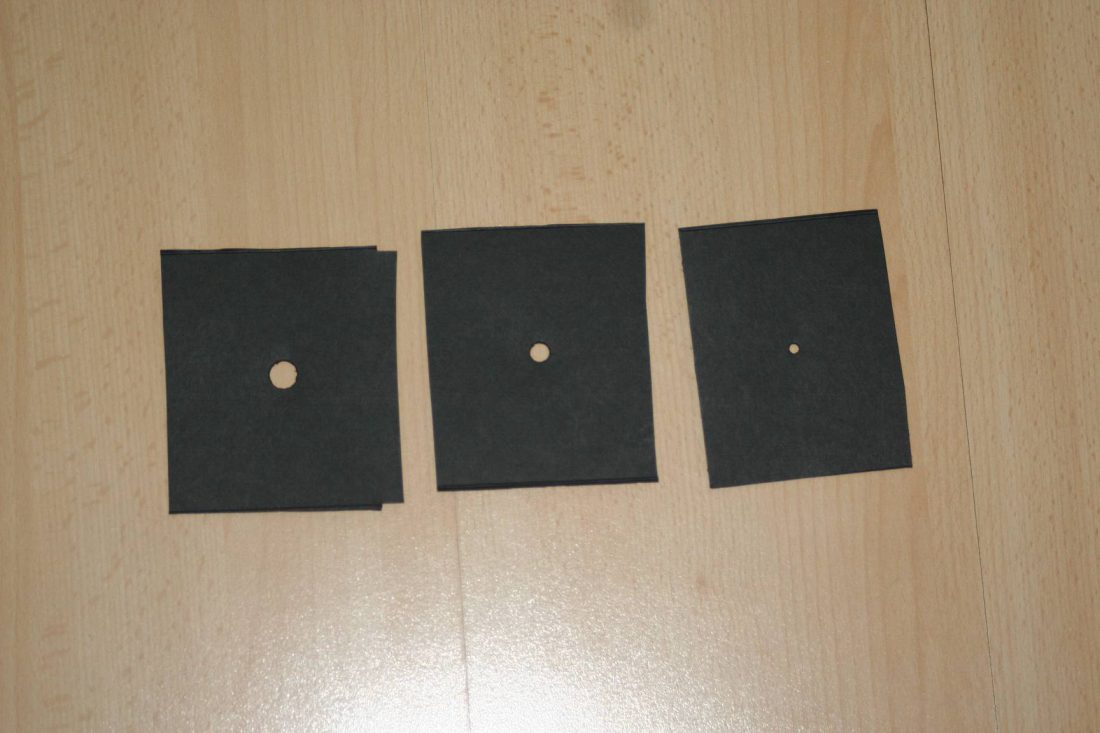
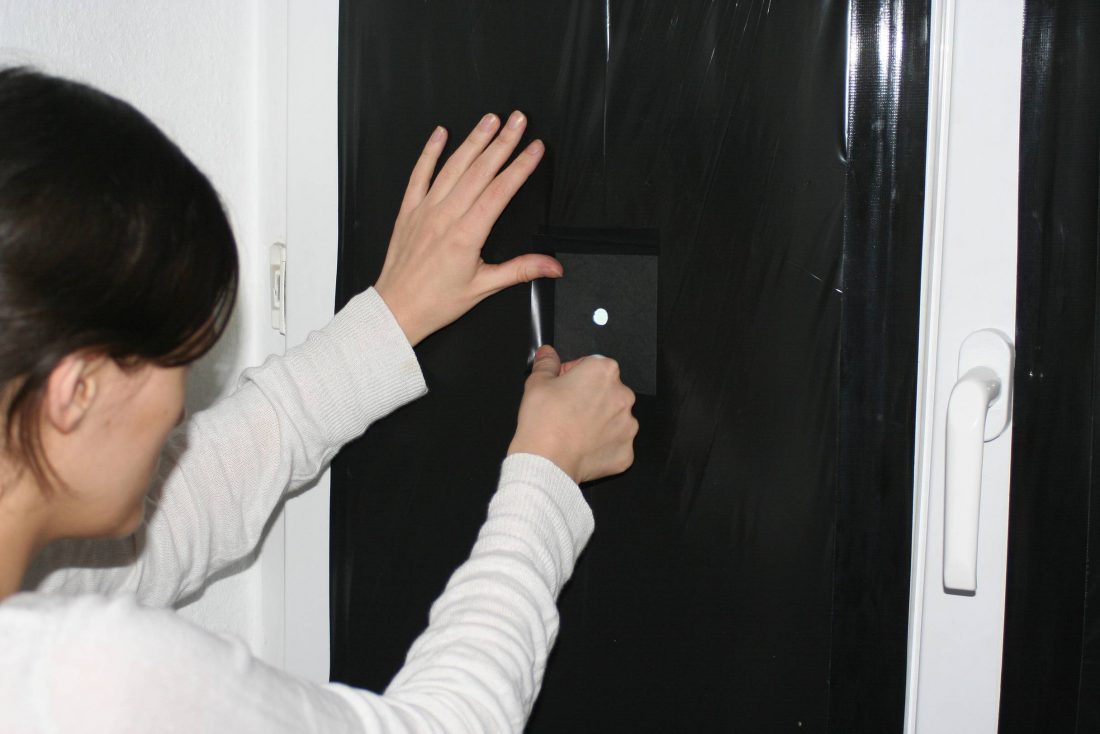
Step 2: Prepare your aperture
This is the only aspect of this experiment that people have trouble with. If the hole is too large, your projection will either be too blurry or too bright to make out. If the hole is too small, the projection will either be too blurry or too dark. To avoid these pitfalls, we will not be making our aperture out of the same material we use to cover our window. Instead, cut out a variety of differently sized holes on individual pieces of construction paper. Once you have finished, cut an opening out of your window covering that is slightly smaller than your construction paper. Hold up each aperture until you find the perfect fit.
Step 3: Document your work
This step is a bit more difficult to do compared to past Kids First Saturday activities. You may need a camera with exposure controls to be able to capture what you’re seeing. Most phone cameras will try to automatically brighten your image, causing your outside projection to disappear. If your phone allows manual exposure, try underexposingyour image. If this is not possible, use an application that provides manual camera controls such as VSCO or Open Camera.
If you share your work online, be sure to tag @polygongallery as we would love to see your creations. Have fun!